The Batik Process
Posted by  Jen Messier on nov 4, 2015 under How-To
Batik is an ancient form of fabric dyeing, where wax is applied to a fabric in order to resist the dye later applied to the piece. When the wax is washed out, the places where it was applied remain the original color of the fabric, creating a neat design.
If applying hot wax, dyeing fabric, and then somehow removing the wax doesn't sound like the most apartment-friendly art, you'd be right. Thankfully there's Hiho Batik in Park Slope, a studio and retail store where you can create your own batik pieces (or purchase one made by the pros!). We've been hosting classes with them for over a year, and this week I finally made my first batiked piece. It was awesome.
Here's a step-by-step look at the process:
1. Decide on your design

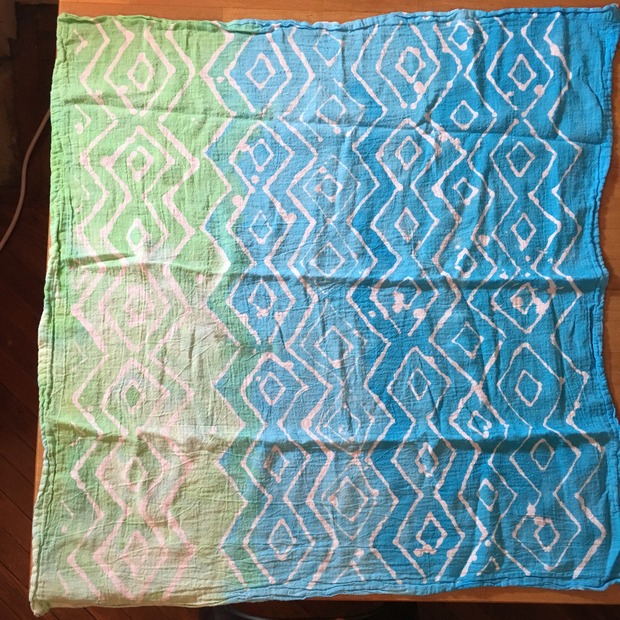
I went with a diamond pattern, but you can do just about anything with the wax, from an intricate freehand drawing to splattering the wax onto the fabric with a paintbrush.
2. Apply the wax

I headed over to the light table and traced my design.
3. Apply the dye

This part's really satisfying, because there is nothing quite like painting fabric and seeing your design magically show up.
4. That's it!
Now the wax gets washed out, and we'll pick up the final products in a week or so.

And here's the real finished project, after a good washing:
Tagged with batik hiho batik park slope


Comments